Website feature
To use a custom domain, you'll need the Website add-on. Learn more here or start a live chat with us today!
👉 Before you get started
Ensure you have access to your domain’s DNS settings. This access is usually through your domain registrar (like GoDaddy, Namecheap, etc.), or your hosting provider if they handle your domain names.
Step 1️⃣ Decide on your preferred domain
Decide what URL customers will see when they visit your Bopple-powered website.
| Your situation | Example domain | What this means |
| You don't have an existing website, or you want to replace it with your Bopple-powered site. | yourdomain.com | Your Bopple site is your website and customers land on a URL that's entirely yours ✅ |
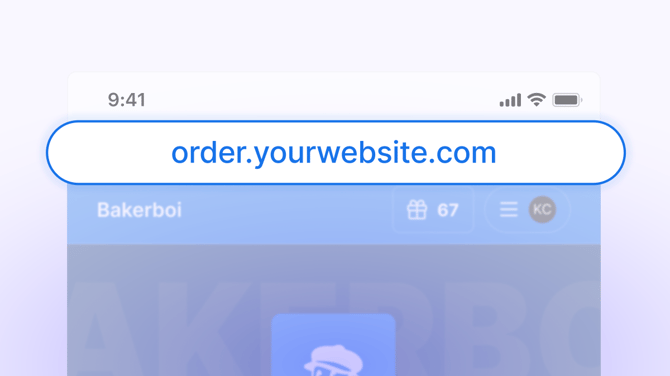
| You already have a website and want online ordering to sit alongside it. |
order.yourdomain.com (your main website would be on yourbrand.com) |
Your ordering site lives on a subdomain so when customers click through it feels like a natural part of your main website ✅ |
Step 2️⃣ Confirm your domain and request unique IP
Once you have decided, reach out to us on live chat 💬 or via help@bopple.com
Our team will assign your custom domain to your account, and provide you with a unique IP address which you will need in the next step.
Step 3️⃣ Create a new 'A Record' in your DNS settings
This part has a few steps, so please ensure each step below is completed.
- Log into your domain registrar account
Visit your domain registrar's website and log in to your account where your domain is managed. - Access the DNS management area
Find and click on a section titled ‘DNS Management’, ‘Name Server Management’, or something along those lines. This is where you can control where your domain points. - Initiate adding a new 'A Record'
Look for a way to add a new DNS record, often labeled as “Add Record” or “New Record”. You’re on the hunt for an option to create an "A Record". - Choose 'A Record' type
When selecting the type of record to add, choose 'A' from the available list. -
Input the details
- Host: This will be the subdomain you wish to use (e.g.,
orderif your custom domain is order.example.com). - Points to: Here, you'll enter the IP address Bopple has provided you. This IP is where your custom domain will direct traffic.
- TTL (Time to Live): Set this to 3600 or whatever the default is, if different. TTL dictates how long the internet remembers the path to your site before it checks back for any updates.
- Host: This will be the subdomain you wish to use (e.g.,
- Save your new A Record
Apply your changes by clicking the save button, which may be labeled “Save”, “Add Record”, or something similar.
⌛ After setup
-
Propagation time: DNS changes can take a bit to spread across the internet, typically anywhere from a few minutes up to 48 hours. During this period, the new path may not work consistently for everyone.
-
Check your domain: After a few hours, it’s wise to verify that your domain is correctly pointing to the provided IP address. Tools like
whatsmydns.netcan help you see if the A Record is propagating as expected.
Questions or issues?
If anything doesn’t go as planned or if you have questions, the Bopple support team is here for you. We’re just an email or call away and happy to assist, contact us on Live Chat 💬 or email at help@bopple.com