What is the Meta Pixel?
The Meta pixel is a piece of code that's placed on your website - or in the case of Bopple, your online storefront - to report conversions, build audiences for ad campaigns, and get insights about how people are interacting with your online store.
In a nutshell, it allows you to track the revenue generated (orders) as a direct result of ads, then tweak your ads to decrease ad-spend per order (conversion cost).
Before you get started
Things you will need:
- Facebook Business Manager account (more info here)
- A Meta Pixel (see how to create a Pixel in your Business Manager account here)
Adding your Pixel to your store
🗒️ You don't need to follow any of Facebook's instructions on installing your Pixel on your website. We've made it simple and easy to add your Pixel without having to touch any "code"; all you need is your Pixel ID.
⚡ If you have your own branded white-label ordering site and would like to have your Pixel added, please drop us a line and we'll add it for you!
Get your Pixel ID
-
Log in to your Facebook Business Manager
-
In the sidebar menu, click the ≡ All Tools option and open Events Manager
-
Under Data Sources on the left, select your Pixel
-
Your Pixel ID is shown in the top right corner (see below); click to copy your ID
Add it to your online store
-
Log in to my.bopple.com
-
Navigate to Integrations
-
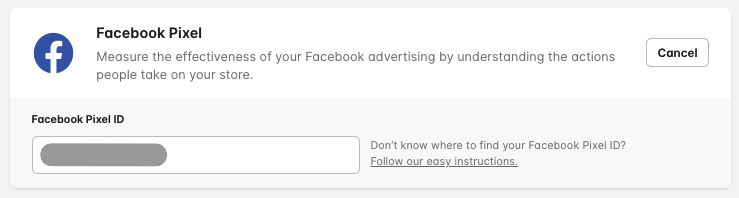
Click Connect on the Meta Pixel option
-
Paste your ID into the Meta Pixel field
Once you've added your pixel, you'll need to wait for customer activity on your store before any events are shown in your Facebook Ads account.
What does it track?
We send various events to the linked Pixel ID as customers move through the ordering process. In some cases there are additional, useful attributes passed with the event. For example, with the Purchase event we send properties for the number of items, the items included, and the value of the order; this is what allows you to understand the value-driven by your ads.
- ViewLocations 👀
- ViewMenu (w/ Store Name)
- ViewProduct (w/ Product Name)
- Add To Cart (w/ Product Name)
- InitiateCheckout (w/ # Products, Product Names, Order Value $)
- Purchase (w/ # Products, Product Names, Order Value $)
👀 The ViewLocations event is only applicable to branded white-label ordering sites with multiple locations. If you'd like to add your Pixel to apply across your whole branded white-label site, please get in touch.
Your Pixel in action
Once you've added your pixel, you'll need to wait for customer activity on your store before any events are shown in your Facebook Ads account.
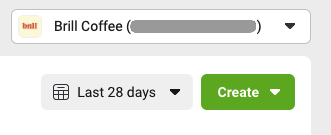
Events Manager
You can verify that events are being sent to your Facebook Business account using the Events Manager. Simply select your Pixel from the Data sources list and you will see an overview of event traffic.
Meta Pixel Helper
Installing the Meta Pixel Helper Chrome browser extension can be handy to see the Pixel working on each page/action as you use move around your online store.