1. Charge Stripe payment terminal
The Stripe payment terminal must be fully charged before it can be powered on.
Insert the battery into the Stripe payment terminal.
- Turn over the device so that the back is facing you
- Lift up from the indentation at the bottom left corner to detach the back cover
- Insert the battery by sliding it into the exposed slot with the gold connectors at the top aligned
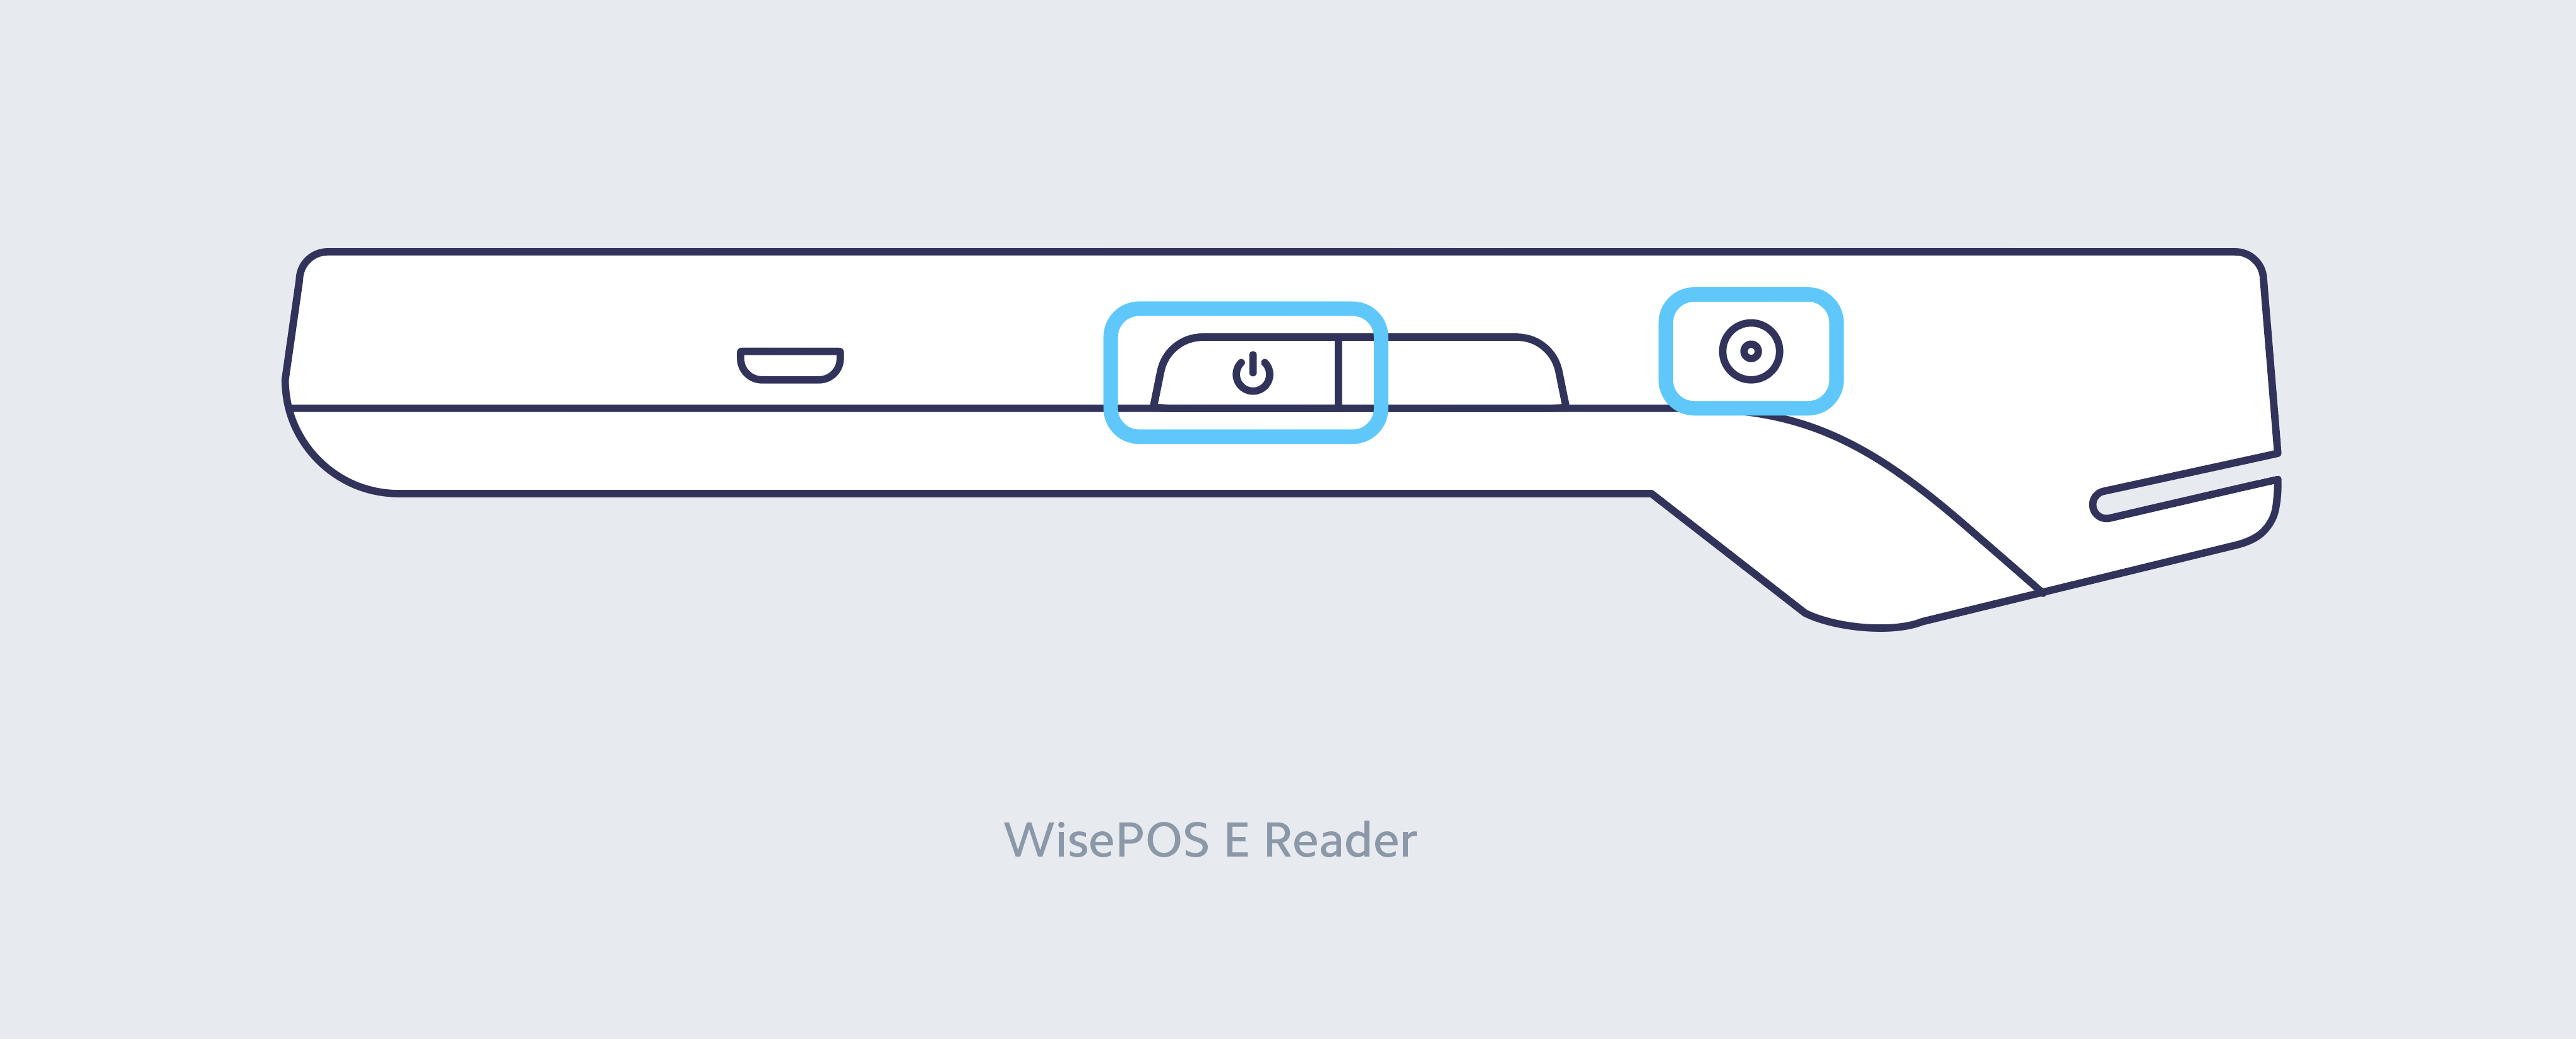
- Charge the reader with the provided cable by plugging it into the right-hand side
Connect to WiFi
-
Once fully charged, power on the Stripe payment terminal using the button on the right hand side.
-
Follow the on-screen instructions to complete setup.
-
Connect the terminal to your WiFi network.
-
If updates are required, allow them to complete.
-
Once you reach the Pairing Code screen, leave the terminal there and continue to kiosk setup.
2. Assemble the kiosk
Follow the user guide for your kiosk model:
Once the stand is assembled, secure the Stripe payment terminal to the kiosk following this user guide.
Make sure the Stripe terminal is powered by connecting it to the USB port on the back of the kiosk.
3. Connect to WiFi
Your kiosk and Stripe payment terminal must be connected to the same WiFi network to work properly.
- Power on your kiosk device if it's not already turned on.
-
On the kiosk screen, double-tap the top-left corner, then double-tap the bottom-right corner.
-
When prompted, enter the PIN: 5151.
-
Connect the kiosk to your WiFi network.
-
Press the Back button to return to the setup screen.
4. Pair the kiosk
You should now see a screen asking for a kiosk setup code.

-
Enter the 5-digit setup code found from Bopple Back Office → Kiosk → Activate Kiosk
-
Confirm your location.
- Pair your terminal
-
Enter a name for the kiosk (e.g. Left Counter).
-
Enter the pairing code shown on the Stripe terminal.
-
- Select the order types you want to offer:
-
Dine-in: asks for a table number and name
-
Takeaway: asks for a customer name
-
-
Tap Launch Kiosk.
✅ You’re ready to go
Your kiosk is now set up and ready to start taking orders.
FAQs & related content
Want a custom splash screen on your kiosk or payment terminal?
Reach out to Bopple and we’ll help you set it up.