Shortcuts

Access the Dashboard
- Go to ➜ direct.uber.com
- Sign-in with the credentials you used during onboarding
To use Uber Direct with Bopple you do not need to create an account. You will be invited to your account as part of onboarding with the teams from Bopple and Uber Direct. If you have not been onboarded yet, register interest here.
Manage deliveries
All delivery info will be shown in your Bopple Orders Manager, however, you can also access some additional details in the Uber Direct Dashboard.
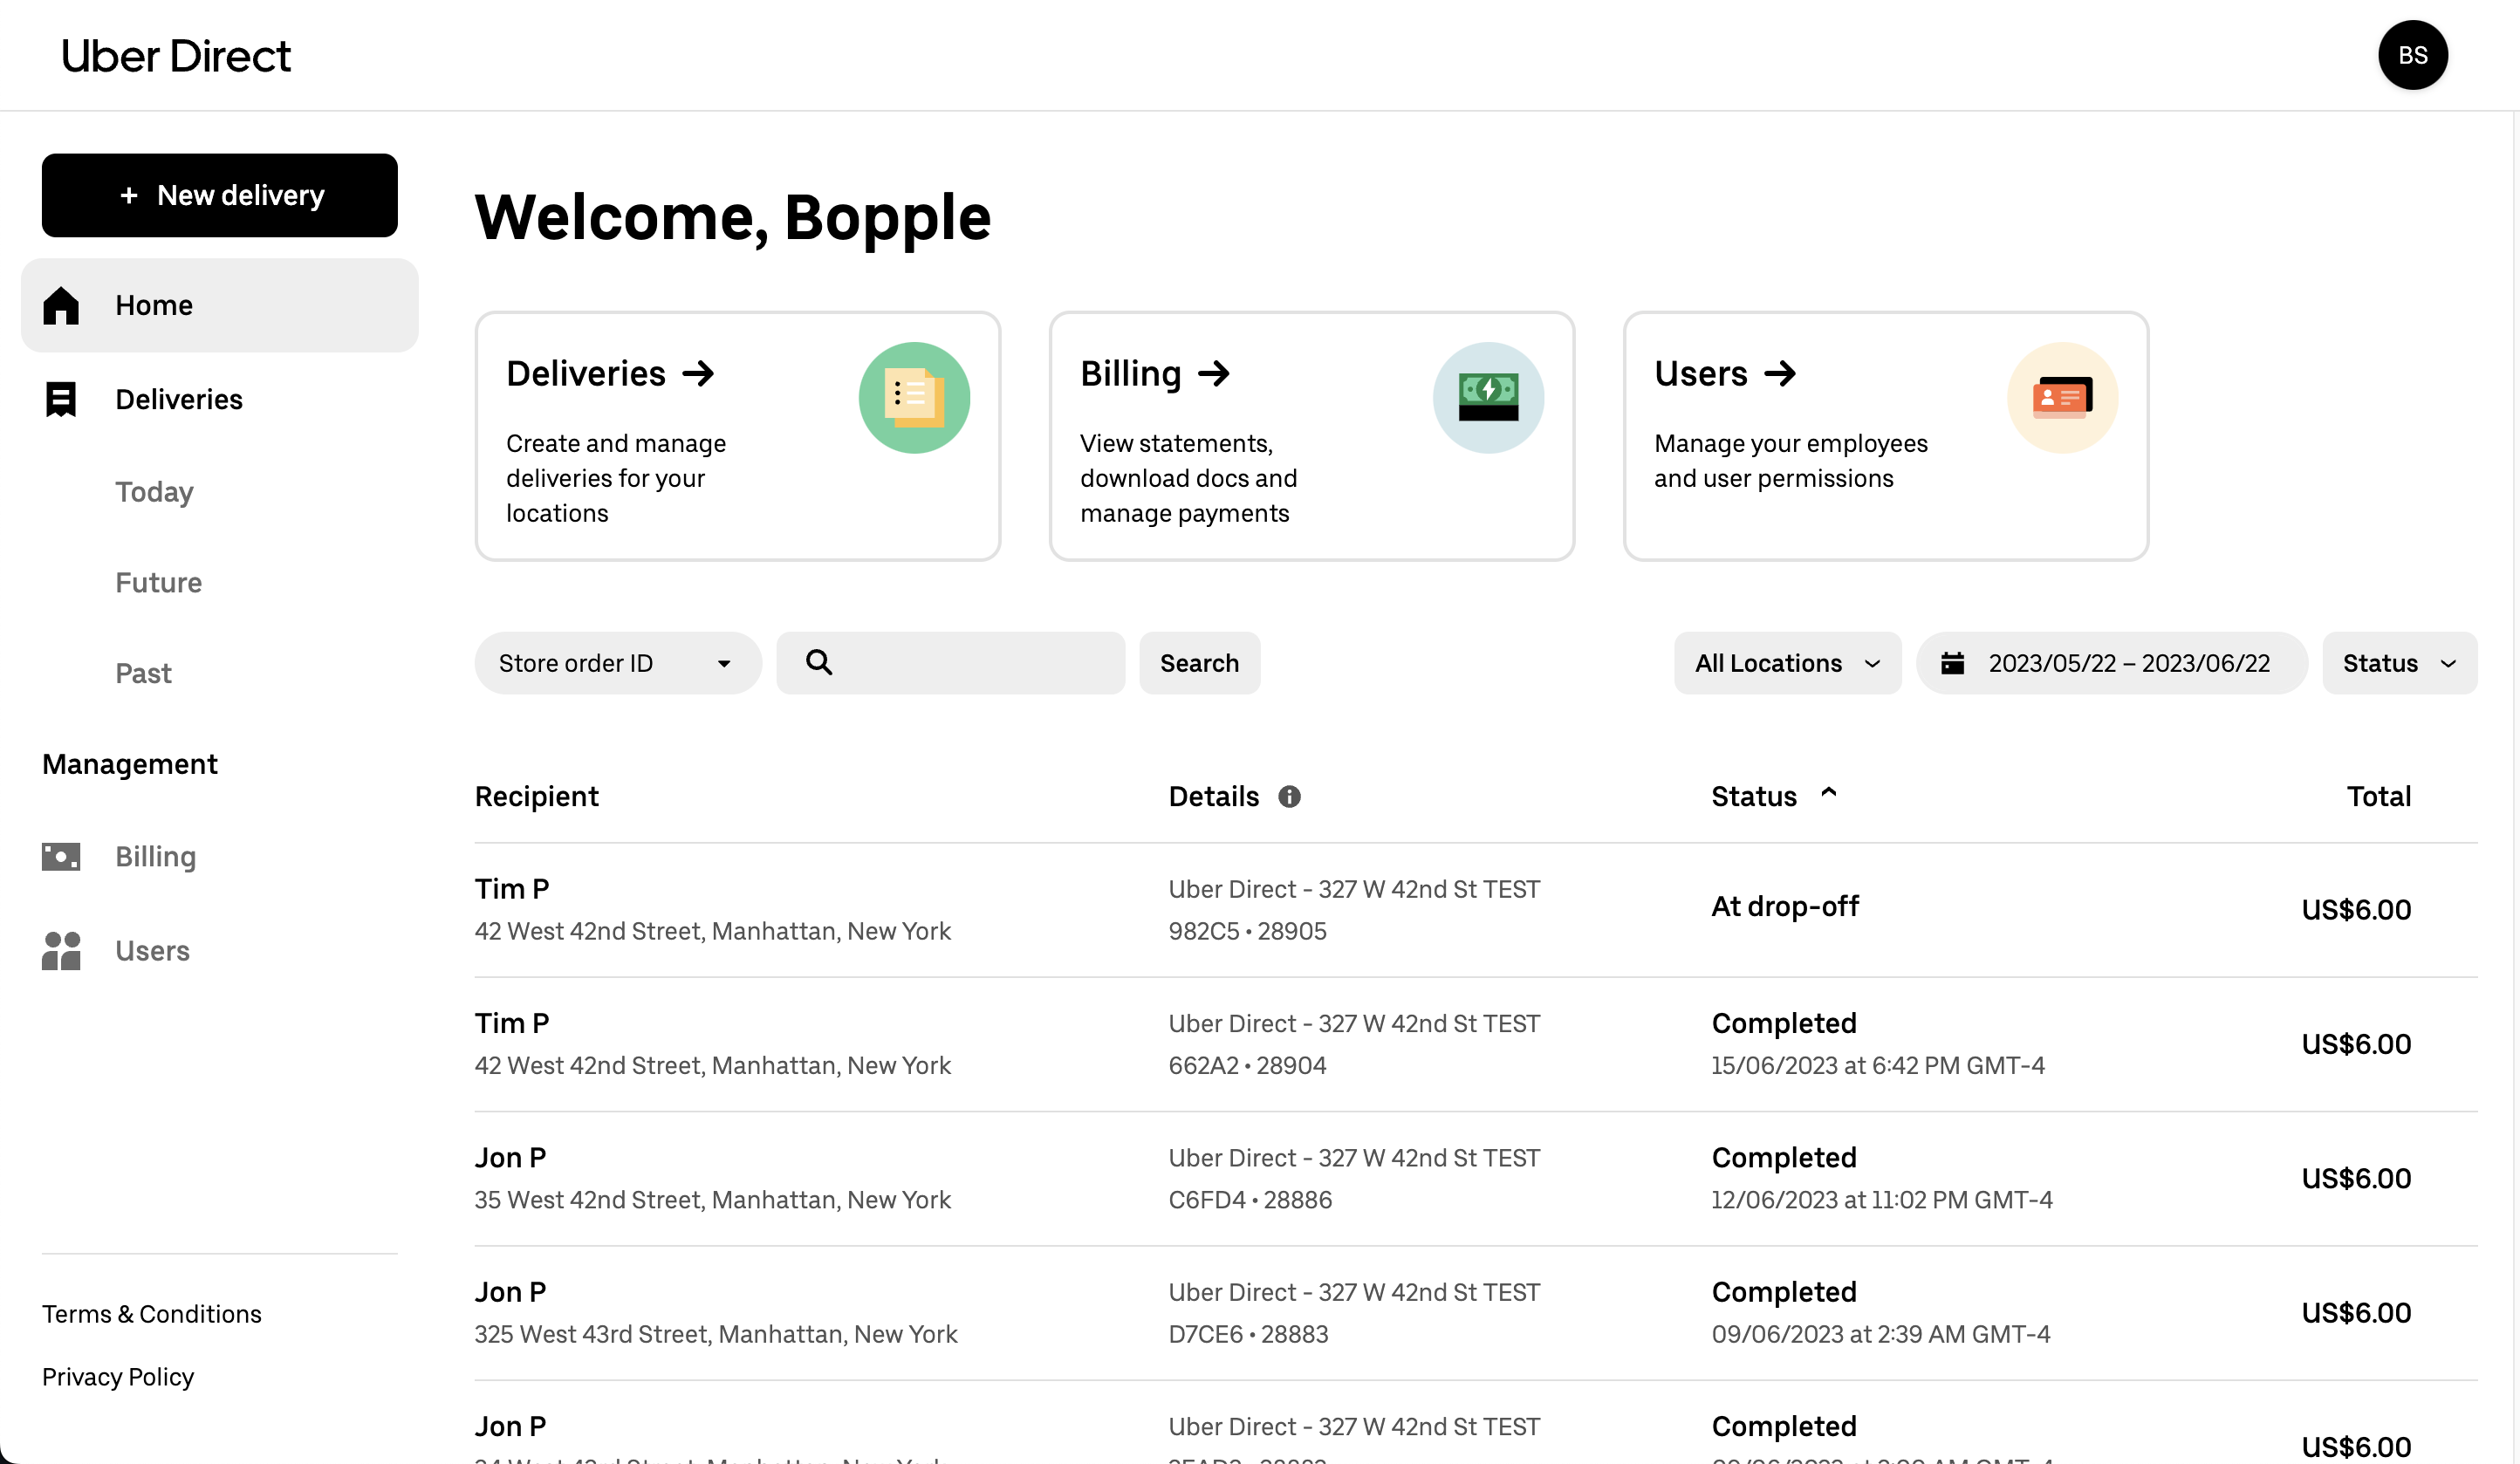
View delivery details
- Navigate to the Home tab
- Use the search and filter options available to locate an order
- Click an order to view more details
Get support for a delivery
- Navigate to the Home tab
- Use the search and filter options available to locate an order
- Click an order to view more details
- Click Request support
- You will be prompted to send an email to Uber Direct support
For more info, see Get help with your Uber Direct deliveries
Create a delivery
⚠️ You should not need to create deliveries in the Uber Direct Dashboard
When using Uber Direct with Bopple, deliveries will be created in Uber via the integration. Once an order is accepted, it is created as a deliver in Uber.
However, if you ever need to create a delivery under special circumstances you can do so in the Deliveries tab for "Today". You will be billed for any additional deliveries you create this way.
Manage billing
When using Uber Direct, you pay Uber directly for all delivery fees. You can view and manage your billing details in the Uber Direct Dashboard. Only Admins can manage billing.
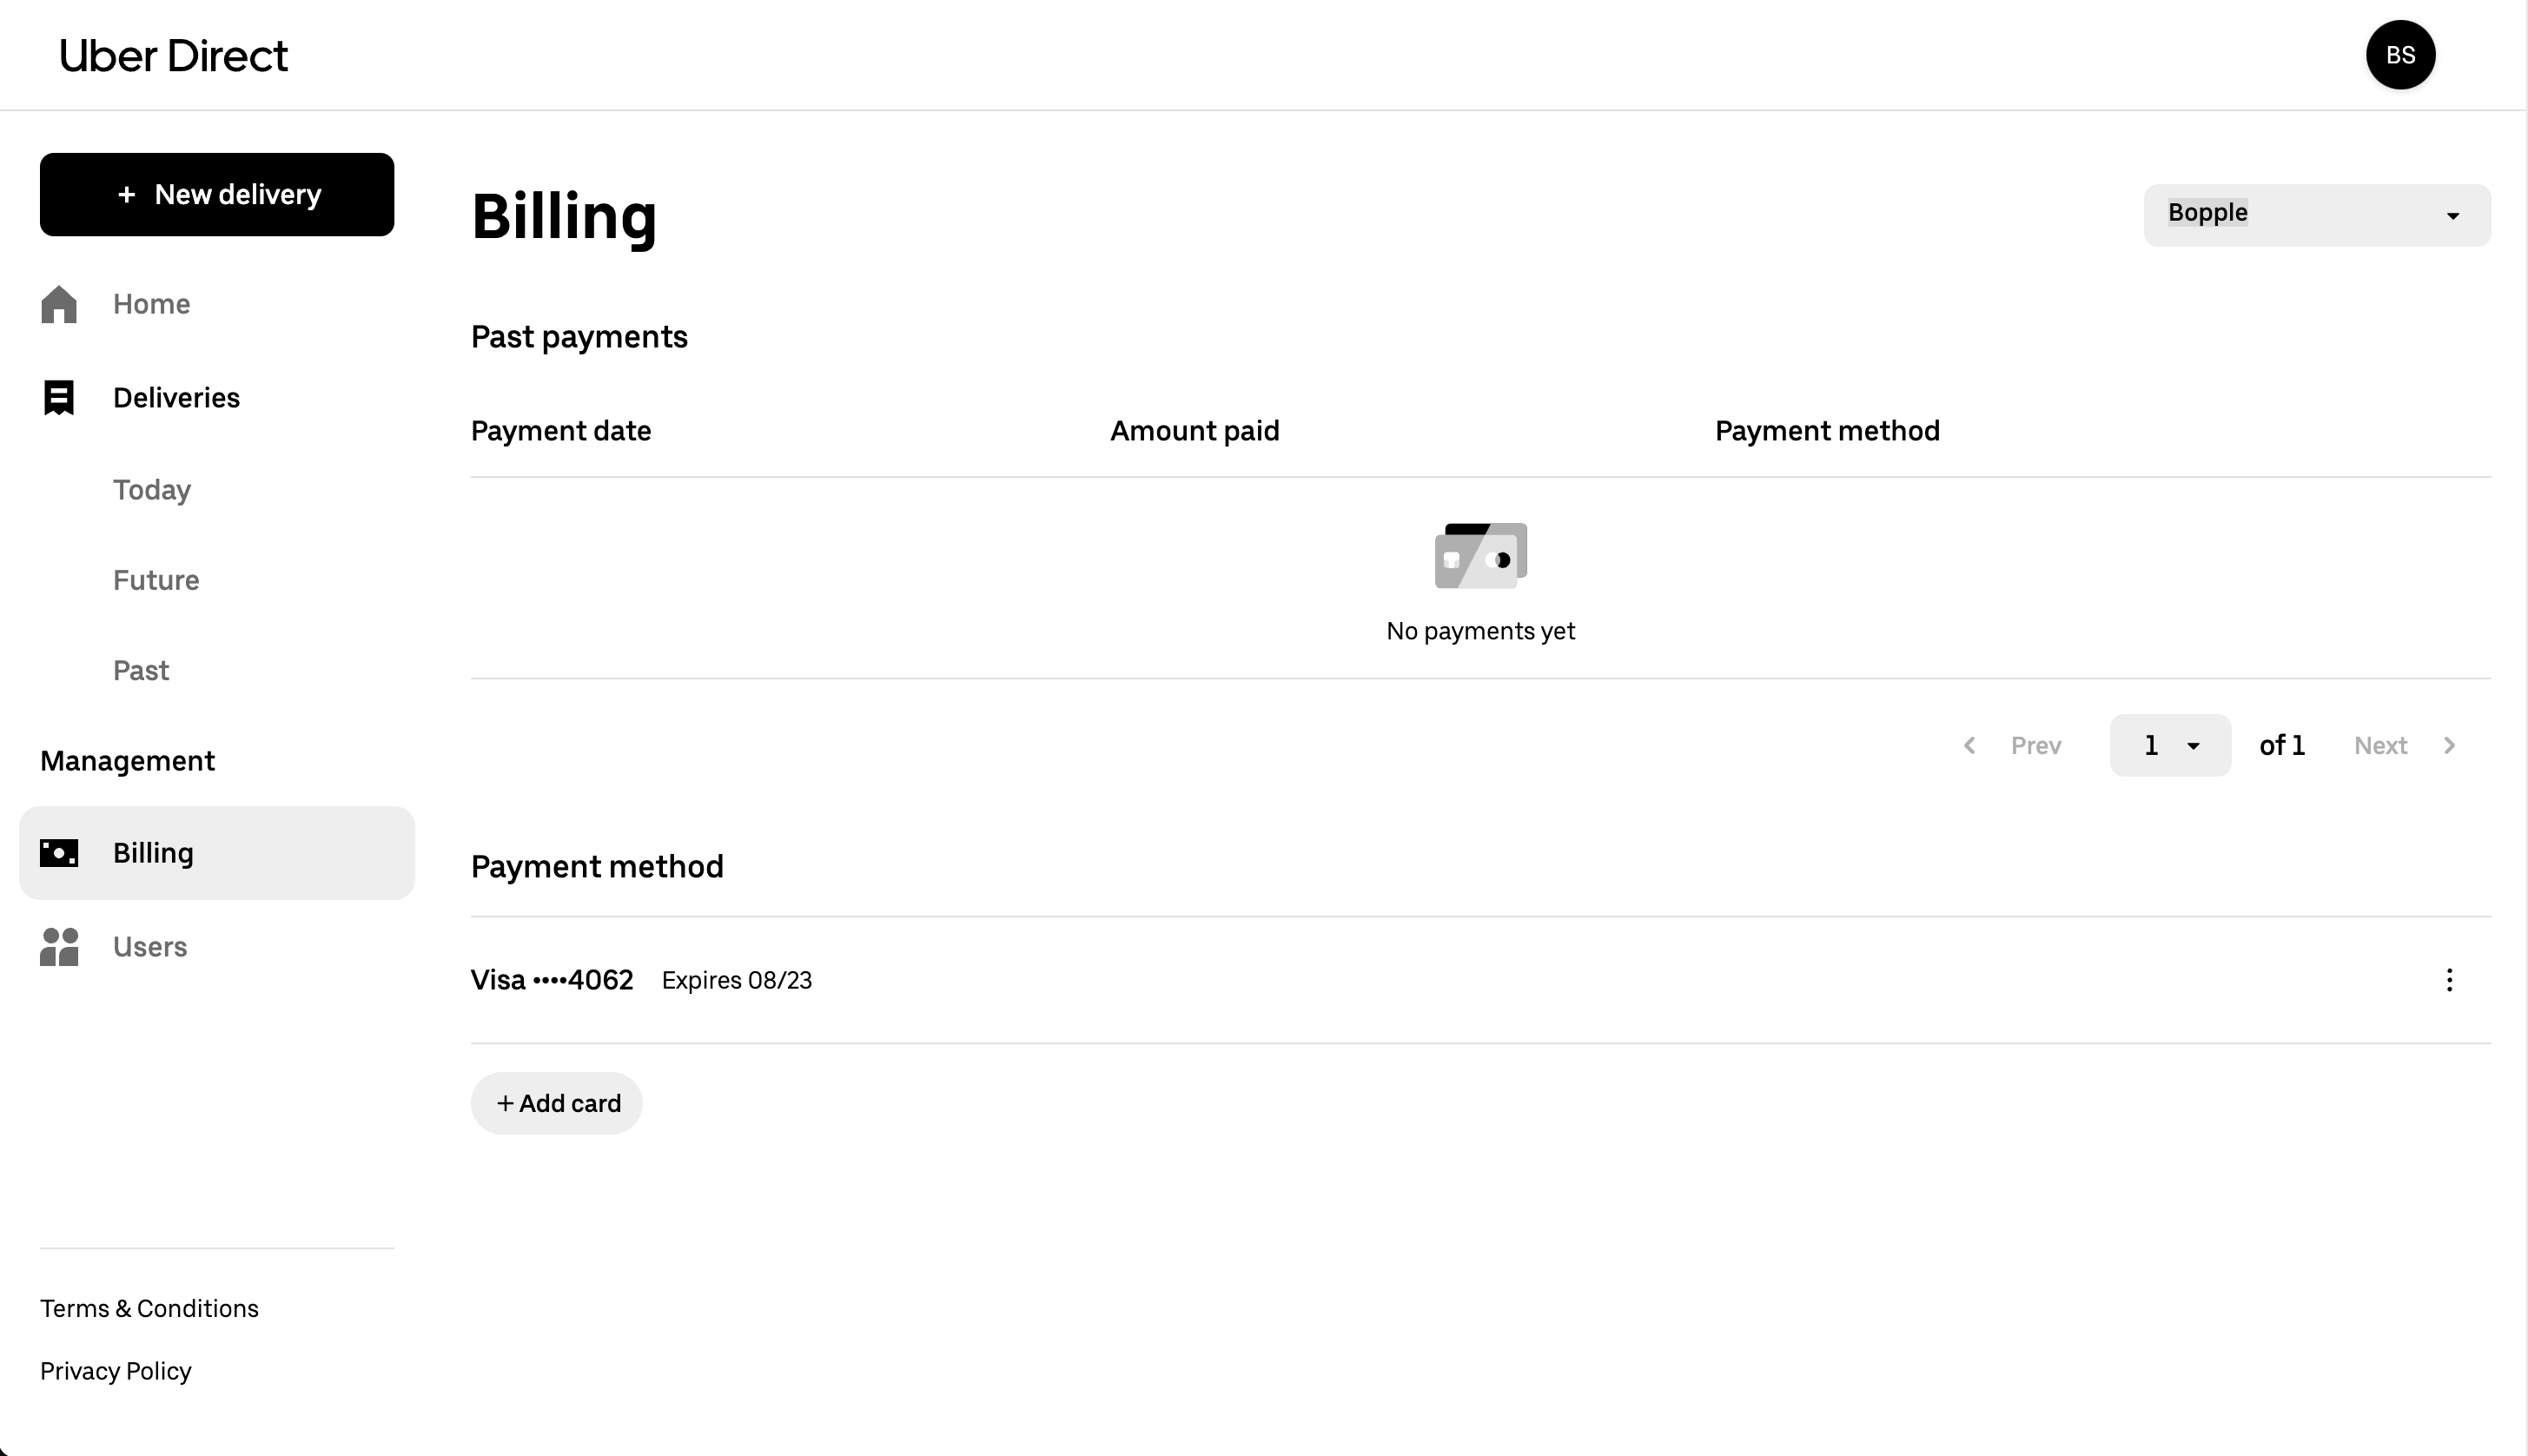
Billing in the Uber Direct Dashboard is specific to each organisation. If you have multiple organisations, you can switch between them using the option in the top right corner of the Billing page.
Add payment methods
Only admins can add/manage payment methods.
- Navigate to the Billing tab
- Select the desired organisation in the top right corner
- Click + Add card
- Add credit card or debit card details
- Click on Add Card to add your payment method.
- The new card should appear under Payment method
Delete payment methods
Only admins can add/manage payment methods. You can only delete payment method if you have two or more saved. Your account requires a payment method ad all times.
- Navigate to the Billing tab
- Select the desired organisation in the top right corner
- Click on the three vertical dots to the right of the payment method you would like to delete. Click Delete
- The "Delete Payment Method?" pop up will appear. Click Delete
- The payment method should no longer appear
Set default payment method
- Navigate to the Billing tab
- Click on the three vertical dots to the right of the payment method you would like to set as default. Click Set as Default
- The “Set as Default” pop up will appear. Click Confirm
- Your payment method of choice should now be the default payment method.
View billing info
-
Navigate to the Billing tab
-
The billing information available includes:
- Billing frequency - how often you are billed
- Statements - where you can manage statement recipients, download invoices and billing details reports
- Past payments - where you can view your payment history
- Payment method - where you can manage payment details
Manage users
You can add additional users to your organisation in Uber Direct if needed. Only Admins can manage users.
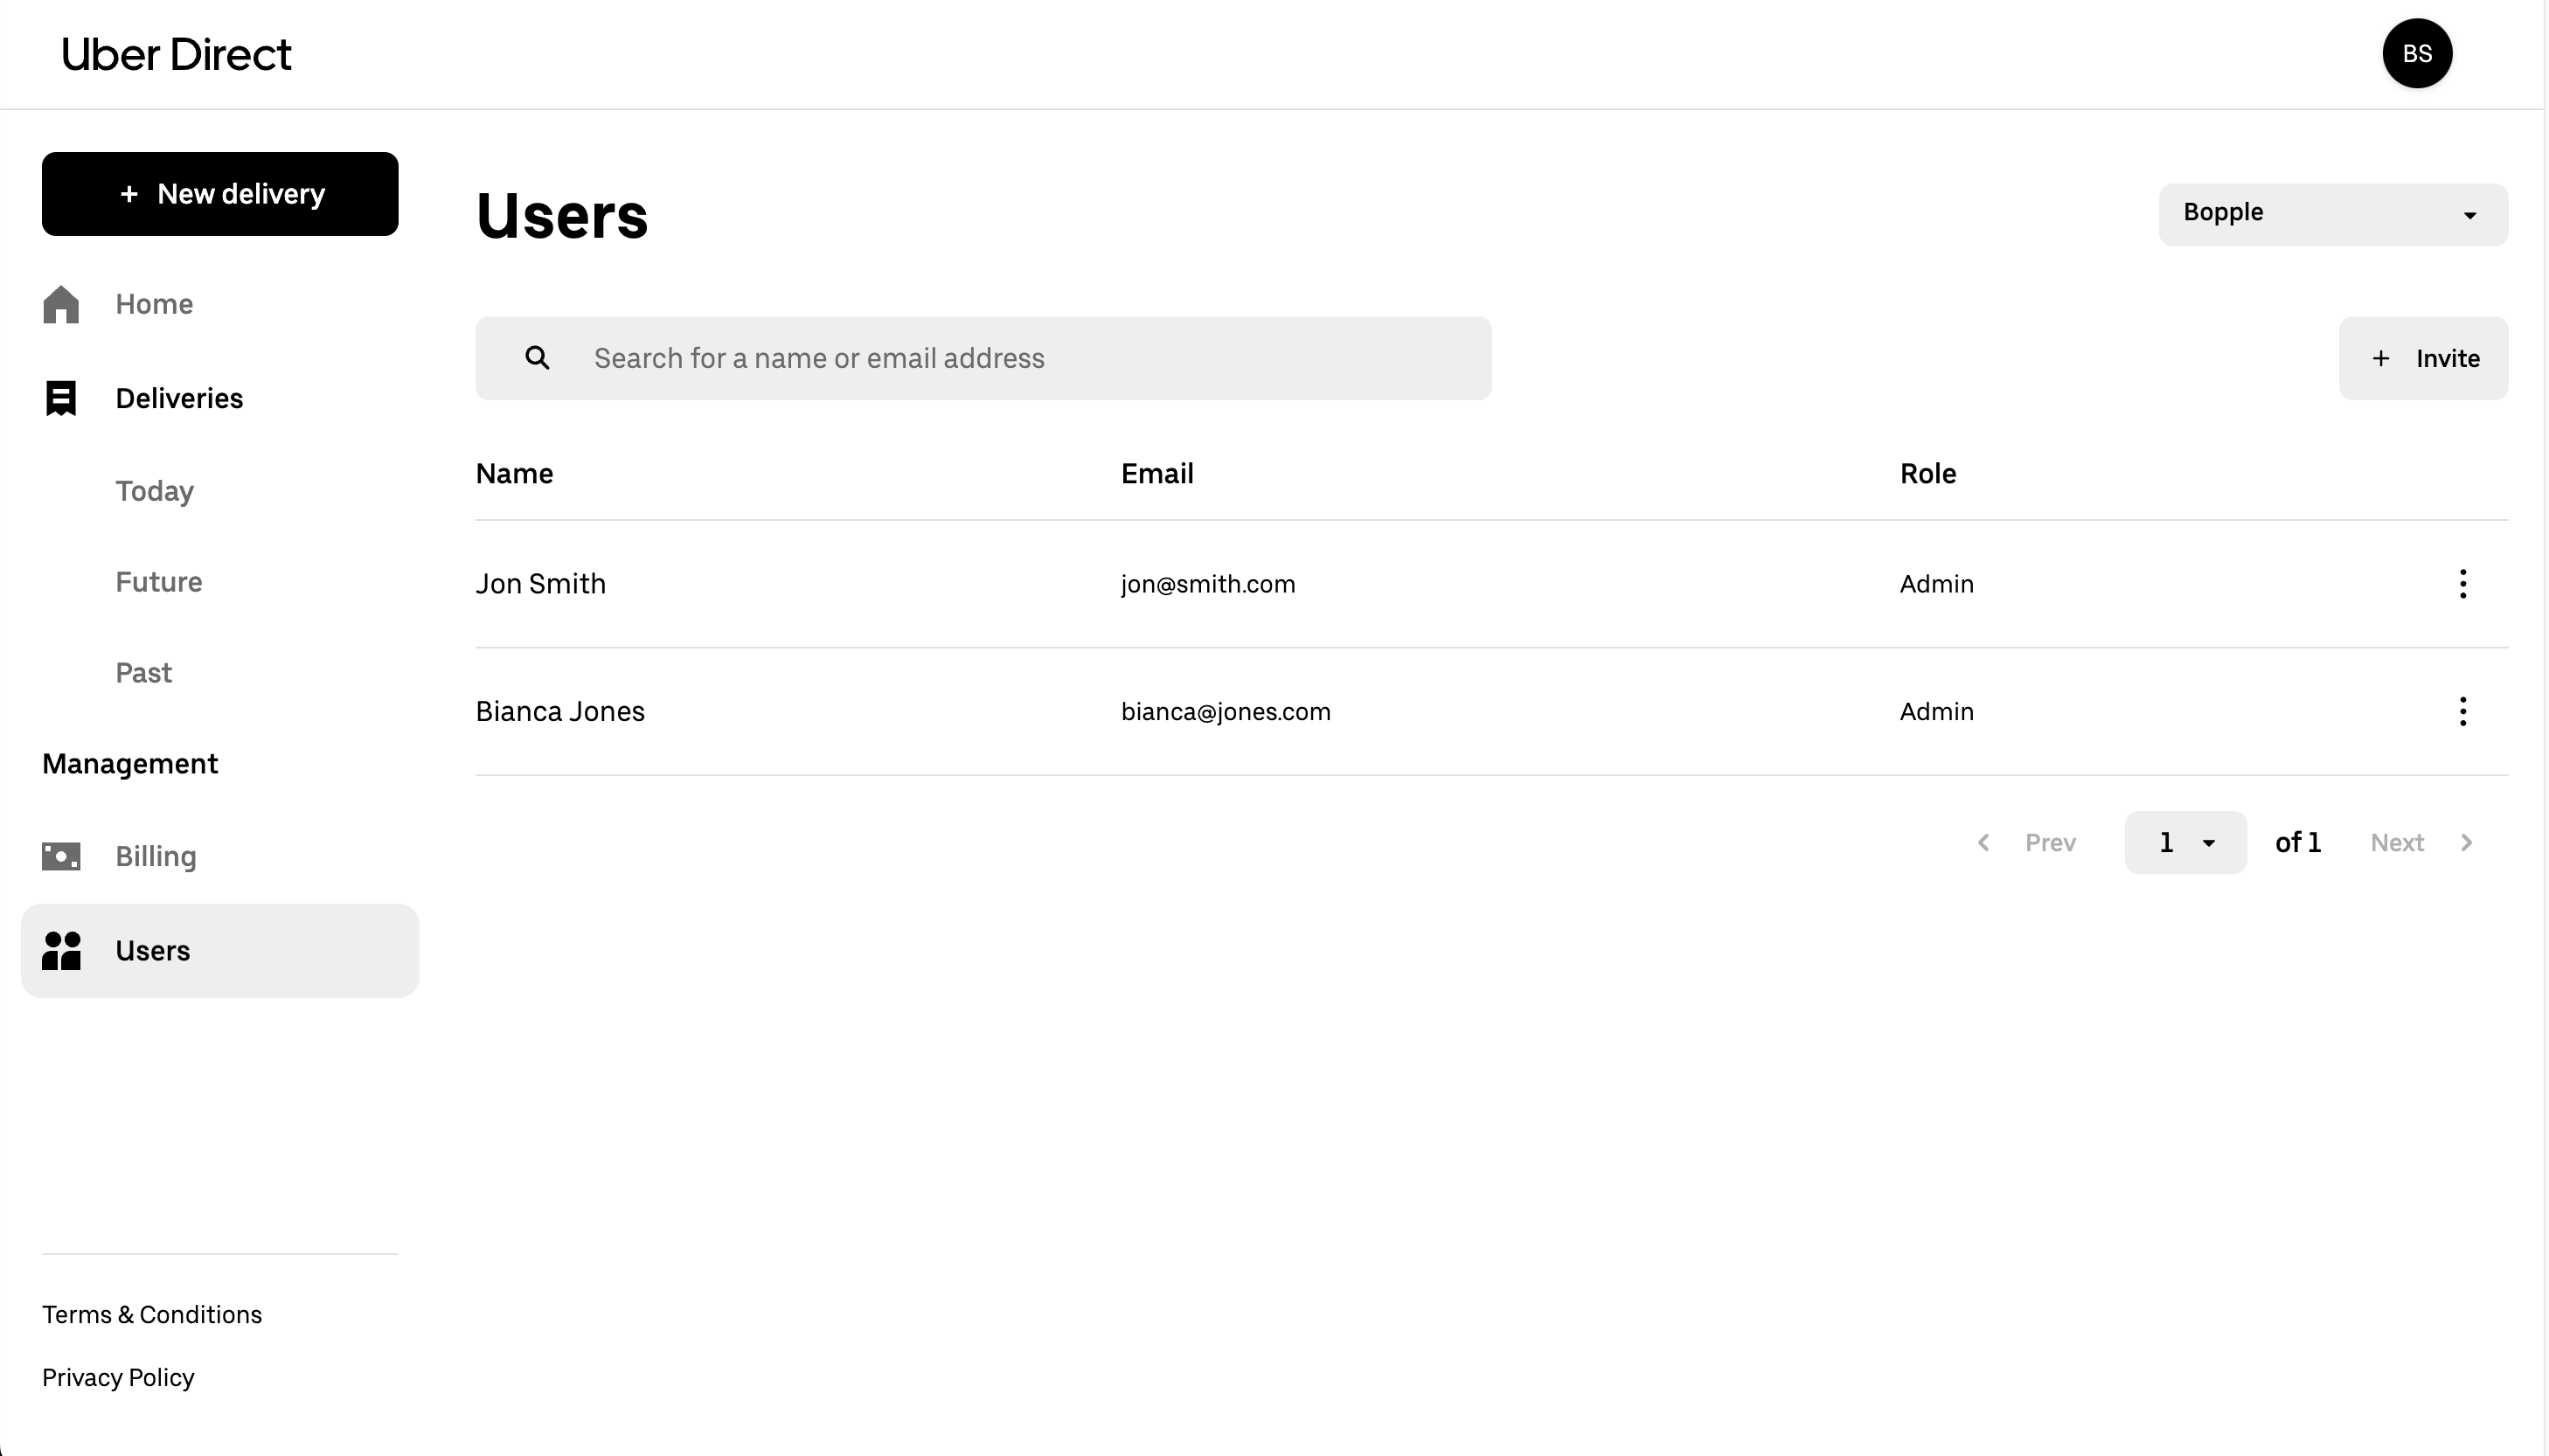
Users in the Uber Direct Dashboard are specific to each organisation. If you have multiple organisations, you can switch between them using the option in the top right corner of the Users page.
Inviting users
Only admins can invite users.
- Navigate to the Users tab
- Select the desired organisation in the top right corner
- Click + Invite
- The "Add a user" box will appear. Please enter the first name, last name, email address, and choose the role of the user (Employee or Admin). Phone number is optional and we do not recommend entering one
- Click Save to add the new user
- The new user will appear with a “Pending” indication beside their name
Accepting invites
- Go to your inbox and find the email invite from Uber
- Click Join
- Enter the email address that the invitation was sent to and click Continue
- A prompt will appear asking you to enter a 4-digit code. Check your inbox for an email with the 4-digit code. If the email doesn’t appear in your inbox, check your junk folder.
- Enter the 4-digit code and click Next
- And once you have completed the sign in process, you will have access to your Uber Direct account
Editing users
- Navigate to the Users tab
- Select the desired organisation in the top right corner
- Click the three vertical dots on the far right beside the user you want to edit.
- Click Edit
- An “Edit user” box will appear. Make any changes to the user including, first name, last name, and user type (Employee or Admin). Please note, email address is unchangeable. To change an email address of an existing user you will need to create a new user.
Deleting users
- Navigate to the Users tab
- Select the desired organisation in the top right corner
- Click Delete
- A “Delete user” box will appear. Click Delete
- The user will no longer exist. The user will not appear in the “Users” tab and will no longer have access to your account.